Use the Guest list to add all your guests to Hostology and then send beautiful invites so they can share important dietary information with your venue. You can also manage guest meal selections in the guest list.
The Guest list section is on the left hand menu (on desktop), or via the pop out menu in the top left of the screen (on mobile) under Guests.
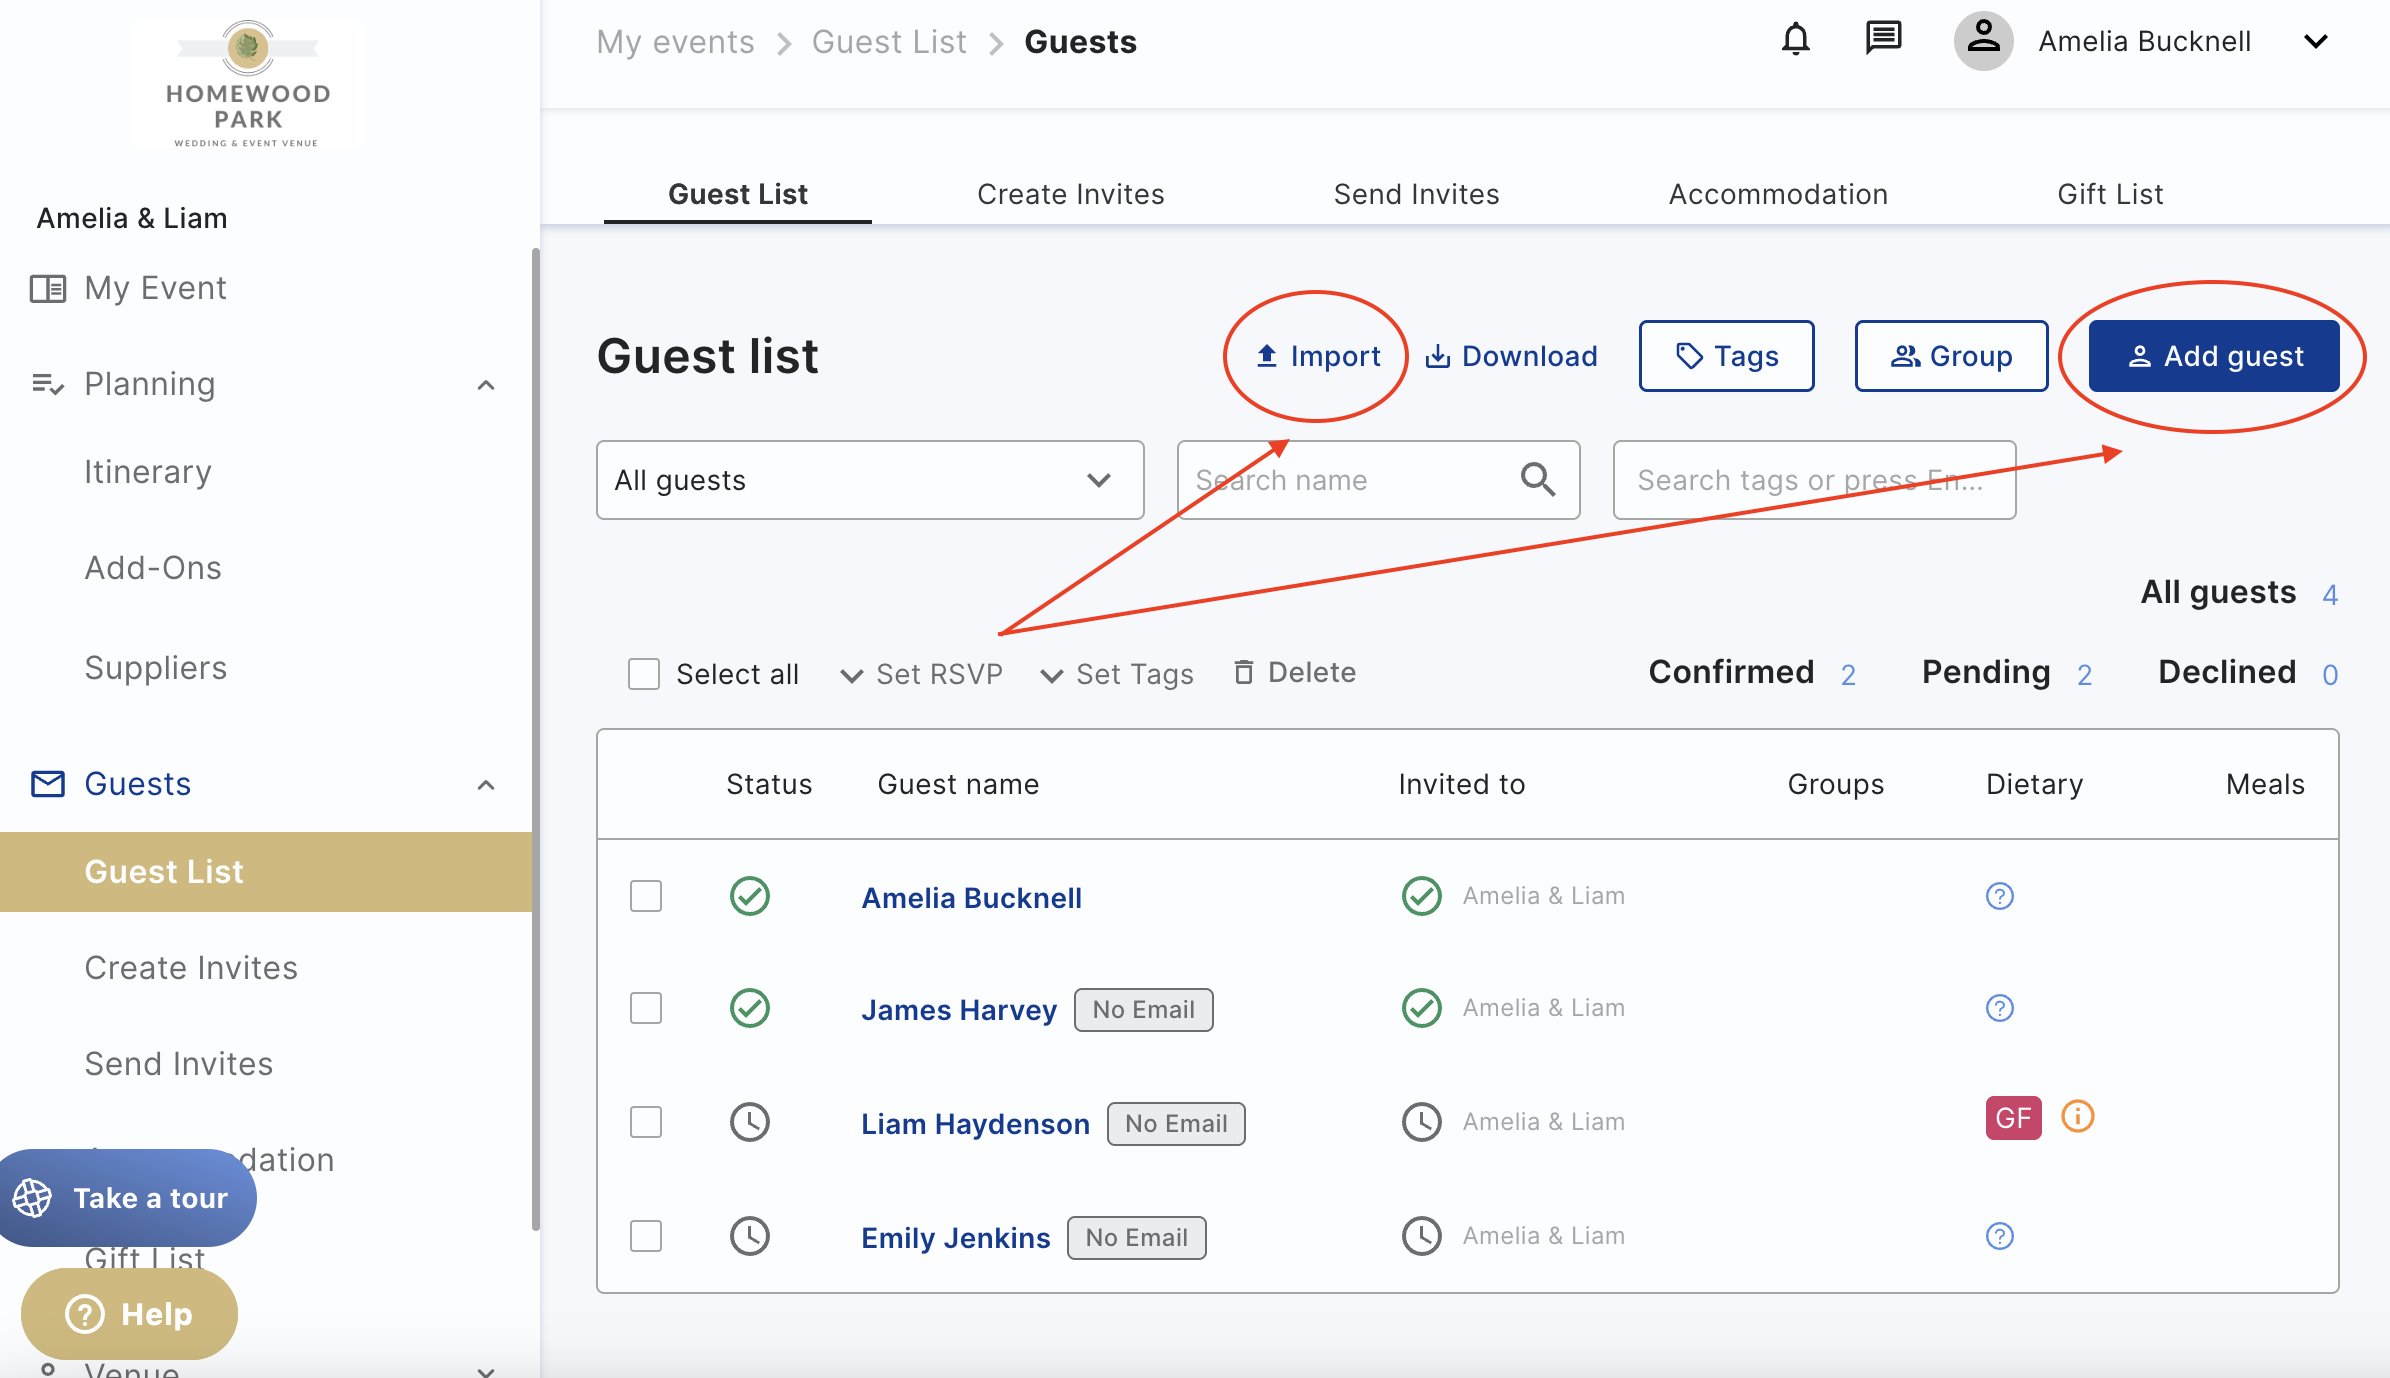
If you already have a guest list spreadsheet you can click on import and select the file you want to upload, remember to follow the document rules or your guests won't be imported. If you don't have a spreadsheet you can start adding your guests manually with the "Add Guest" button on the right. Your guests don't need an email to be added, but if you want them to see the invite, guest list, accommodation and add in their own dietaries an email is required.
In the guest list, you can tag your guests so you can group them and organize them, for example "Evening Guests". This is helpful when you're sending invites as you can filter via tags and select the "Evening Invitation" and the "Evening Guests" tag and only select those guests.
Click on the "Tags" button or in the tags search box to create a tag and click "Set Tags" if you want to bulk tag guests.
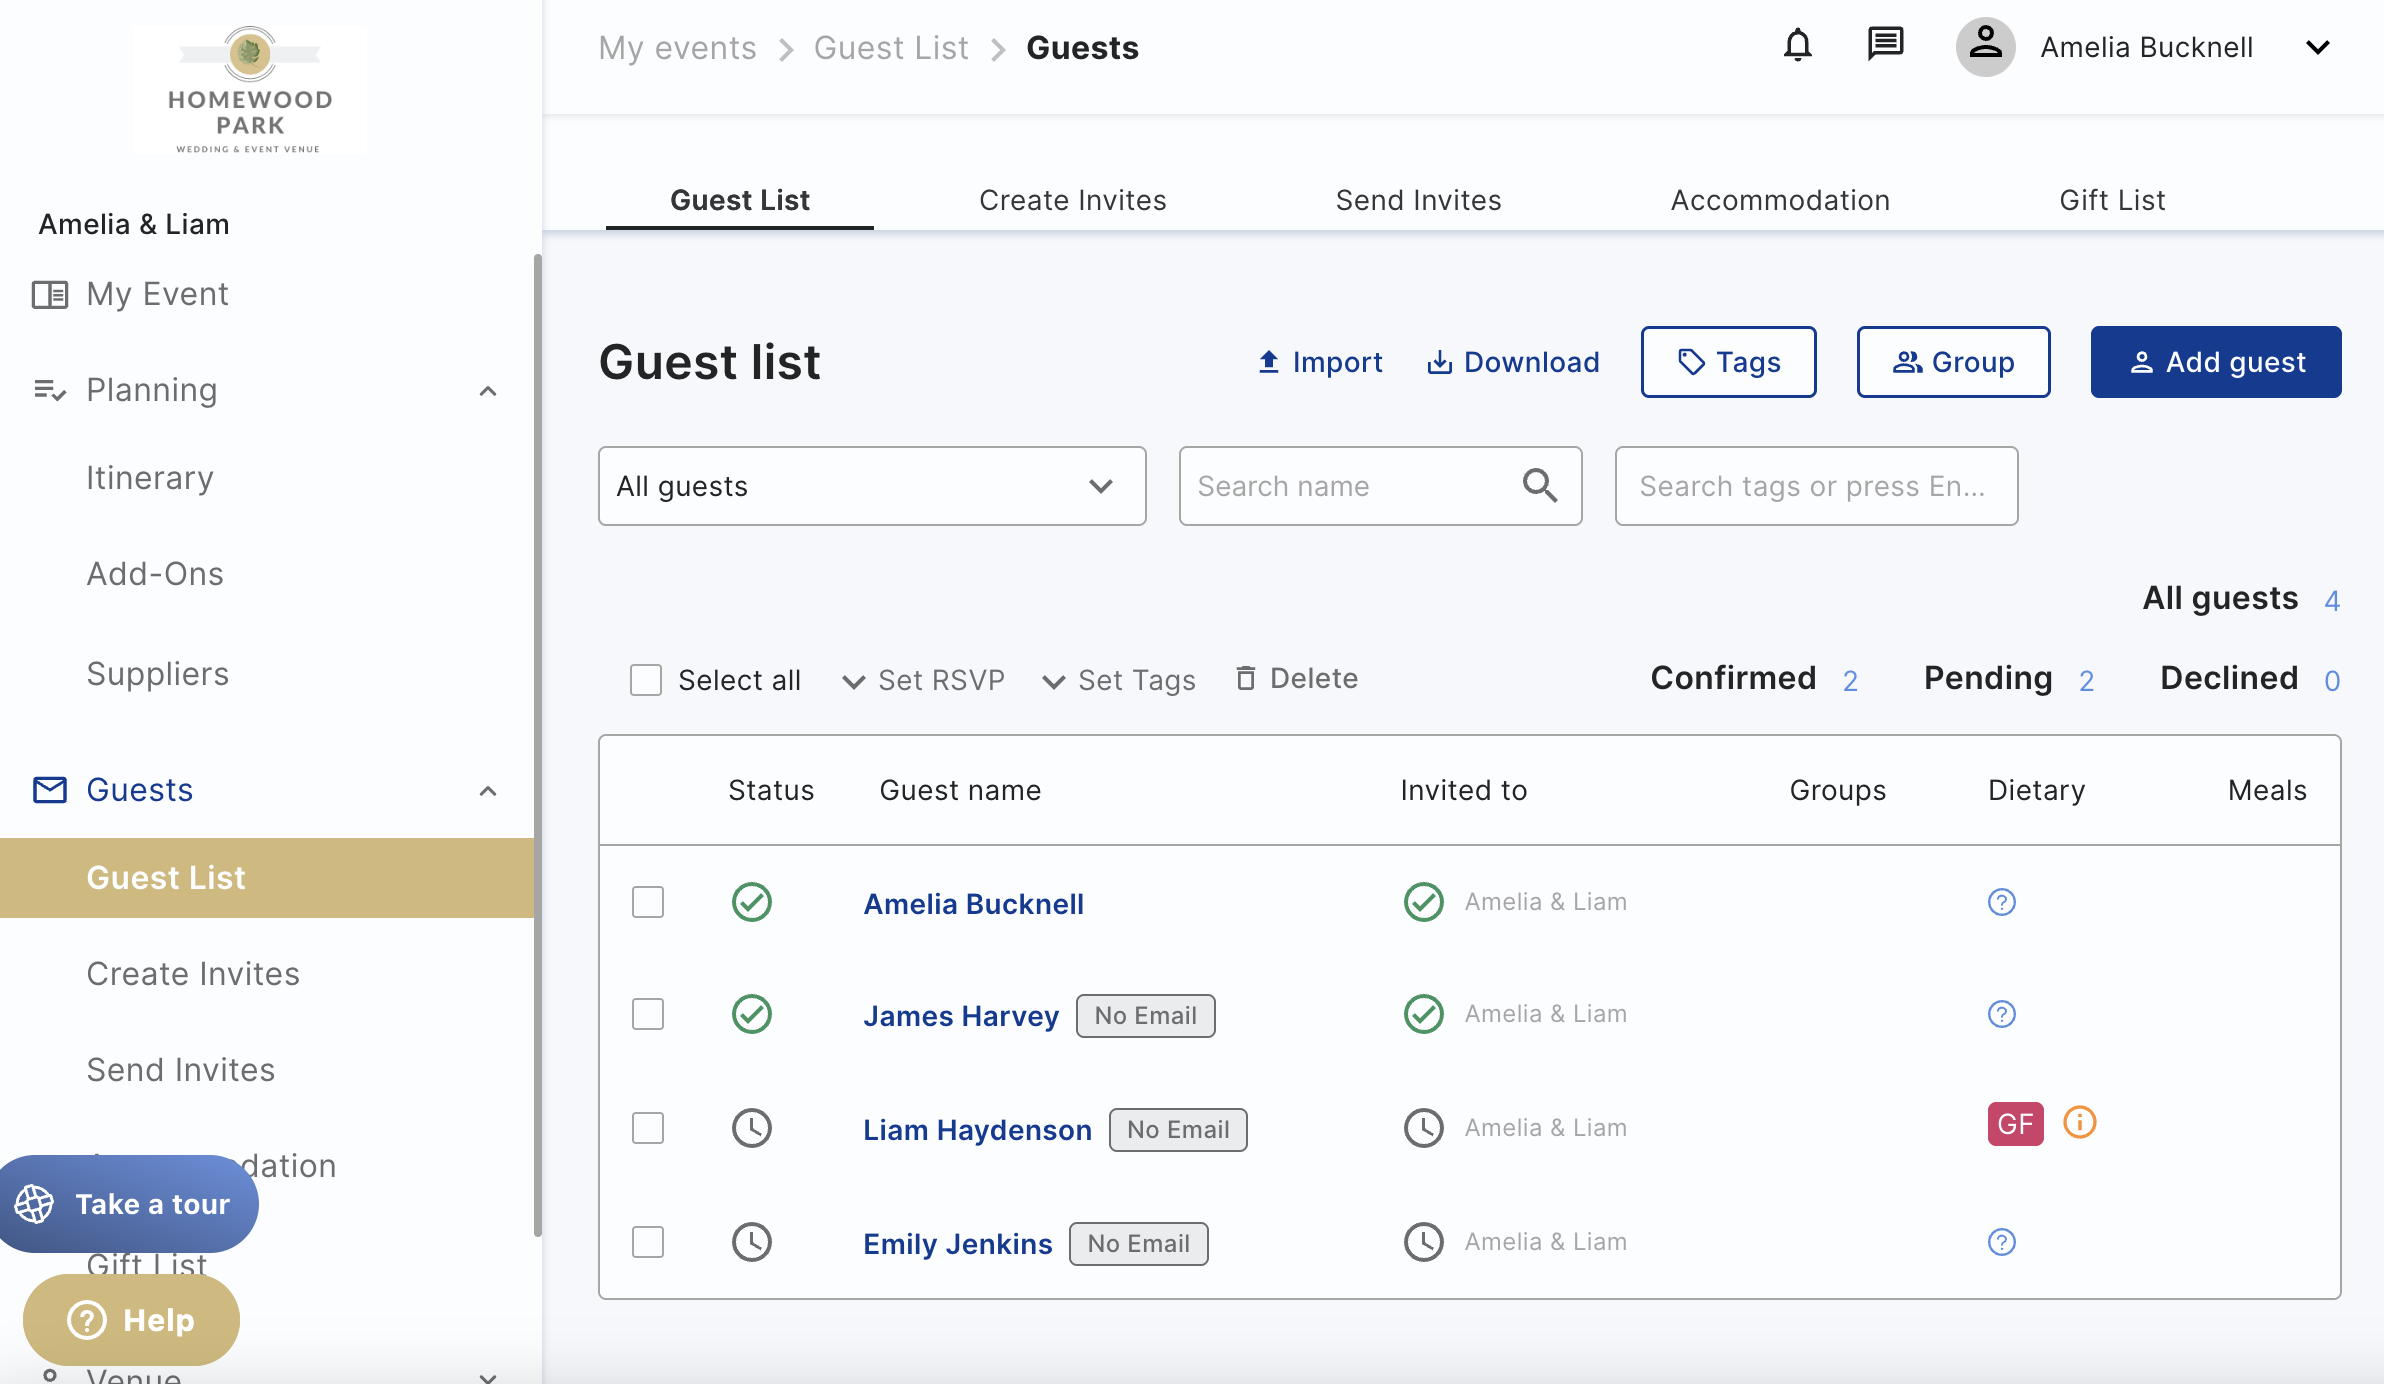
Once you send your invites and your guests start RSVPing, you can monitor what invite they are RSVPing to, if they have any dietaries and if there's meal choices, if they've selected them.
You can also manually RSVP for your guests. This can be done by clicking the icon on the left of the guest you want to RSVP for, which will open a small box with confirm, pending and declined.
Creating Guest Groups
To start adding guests, you will see that you have two choices. "Add Guest", OR, "Add Group".
- Add Guest - This will add your guest as an "individual". Where if you invite them to the platform, they will be responsible for their information only. (You can always add to a group later)
- Add Group - This will prompt you to add a guest (NB - the first guest will be the "Group Lead"). And then add further guests to this group. This allows the group lead to be responsible for updating their guests information, RSVP's and booking accommodation. E.g. You might create a family as a group, with a parent as a Group lead, who will RSVP for their partner + Children and make all arrangements.
You will have the option to ‘Add another guest’ and complete the required information, then click create group - NB Children can only be part of a group.
You can also create groups after you've finished adding all your guests on the platform. Click on the guest and click "+ Group Member" and you'll be able to select which guests to add to this group.

Groups allow for one person to be responsible for updating RSVPs and other information. It also makes it easier for you to book in your guests to accommodation, where if you add a group to a room, it will automatically add all the guest information to the room and provide the guest lead with the details to arrange payments.
What happens if I don't add an email address to my guest
If you add a guest with an email address, when you add them to a room or invitation, they will receive the above emails inviting them to create an account - RSVP and/or confirm their room. They will also be able to see things like your Gift List. The two emails a guest will receive are:
- An invitation - If you send an invite to a guest who has an email address, they will receive this via email.
- A Room Booking Confirmation - If you assign a room to a guest, they will receive an email asking them to confirm it and make payment arrangements.
If you do not add an email address to a guest, they will not be able to login/receive any of the information above. This can be useful when you are in the early stages of your planning process! Or if you want to do all of the guest management manually. Any guest that does not have an email address will show with a "No email" tag like below:
Updating and Editing your Guests + Groups
As mentioned, when creating your guest list, you can always update, edit, or even delete a guest.
To edit a guest, simply click on their name, then select the edit option when you are on their profile. This will allow you to update contact info, tags, dietary information and any notes.
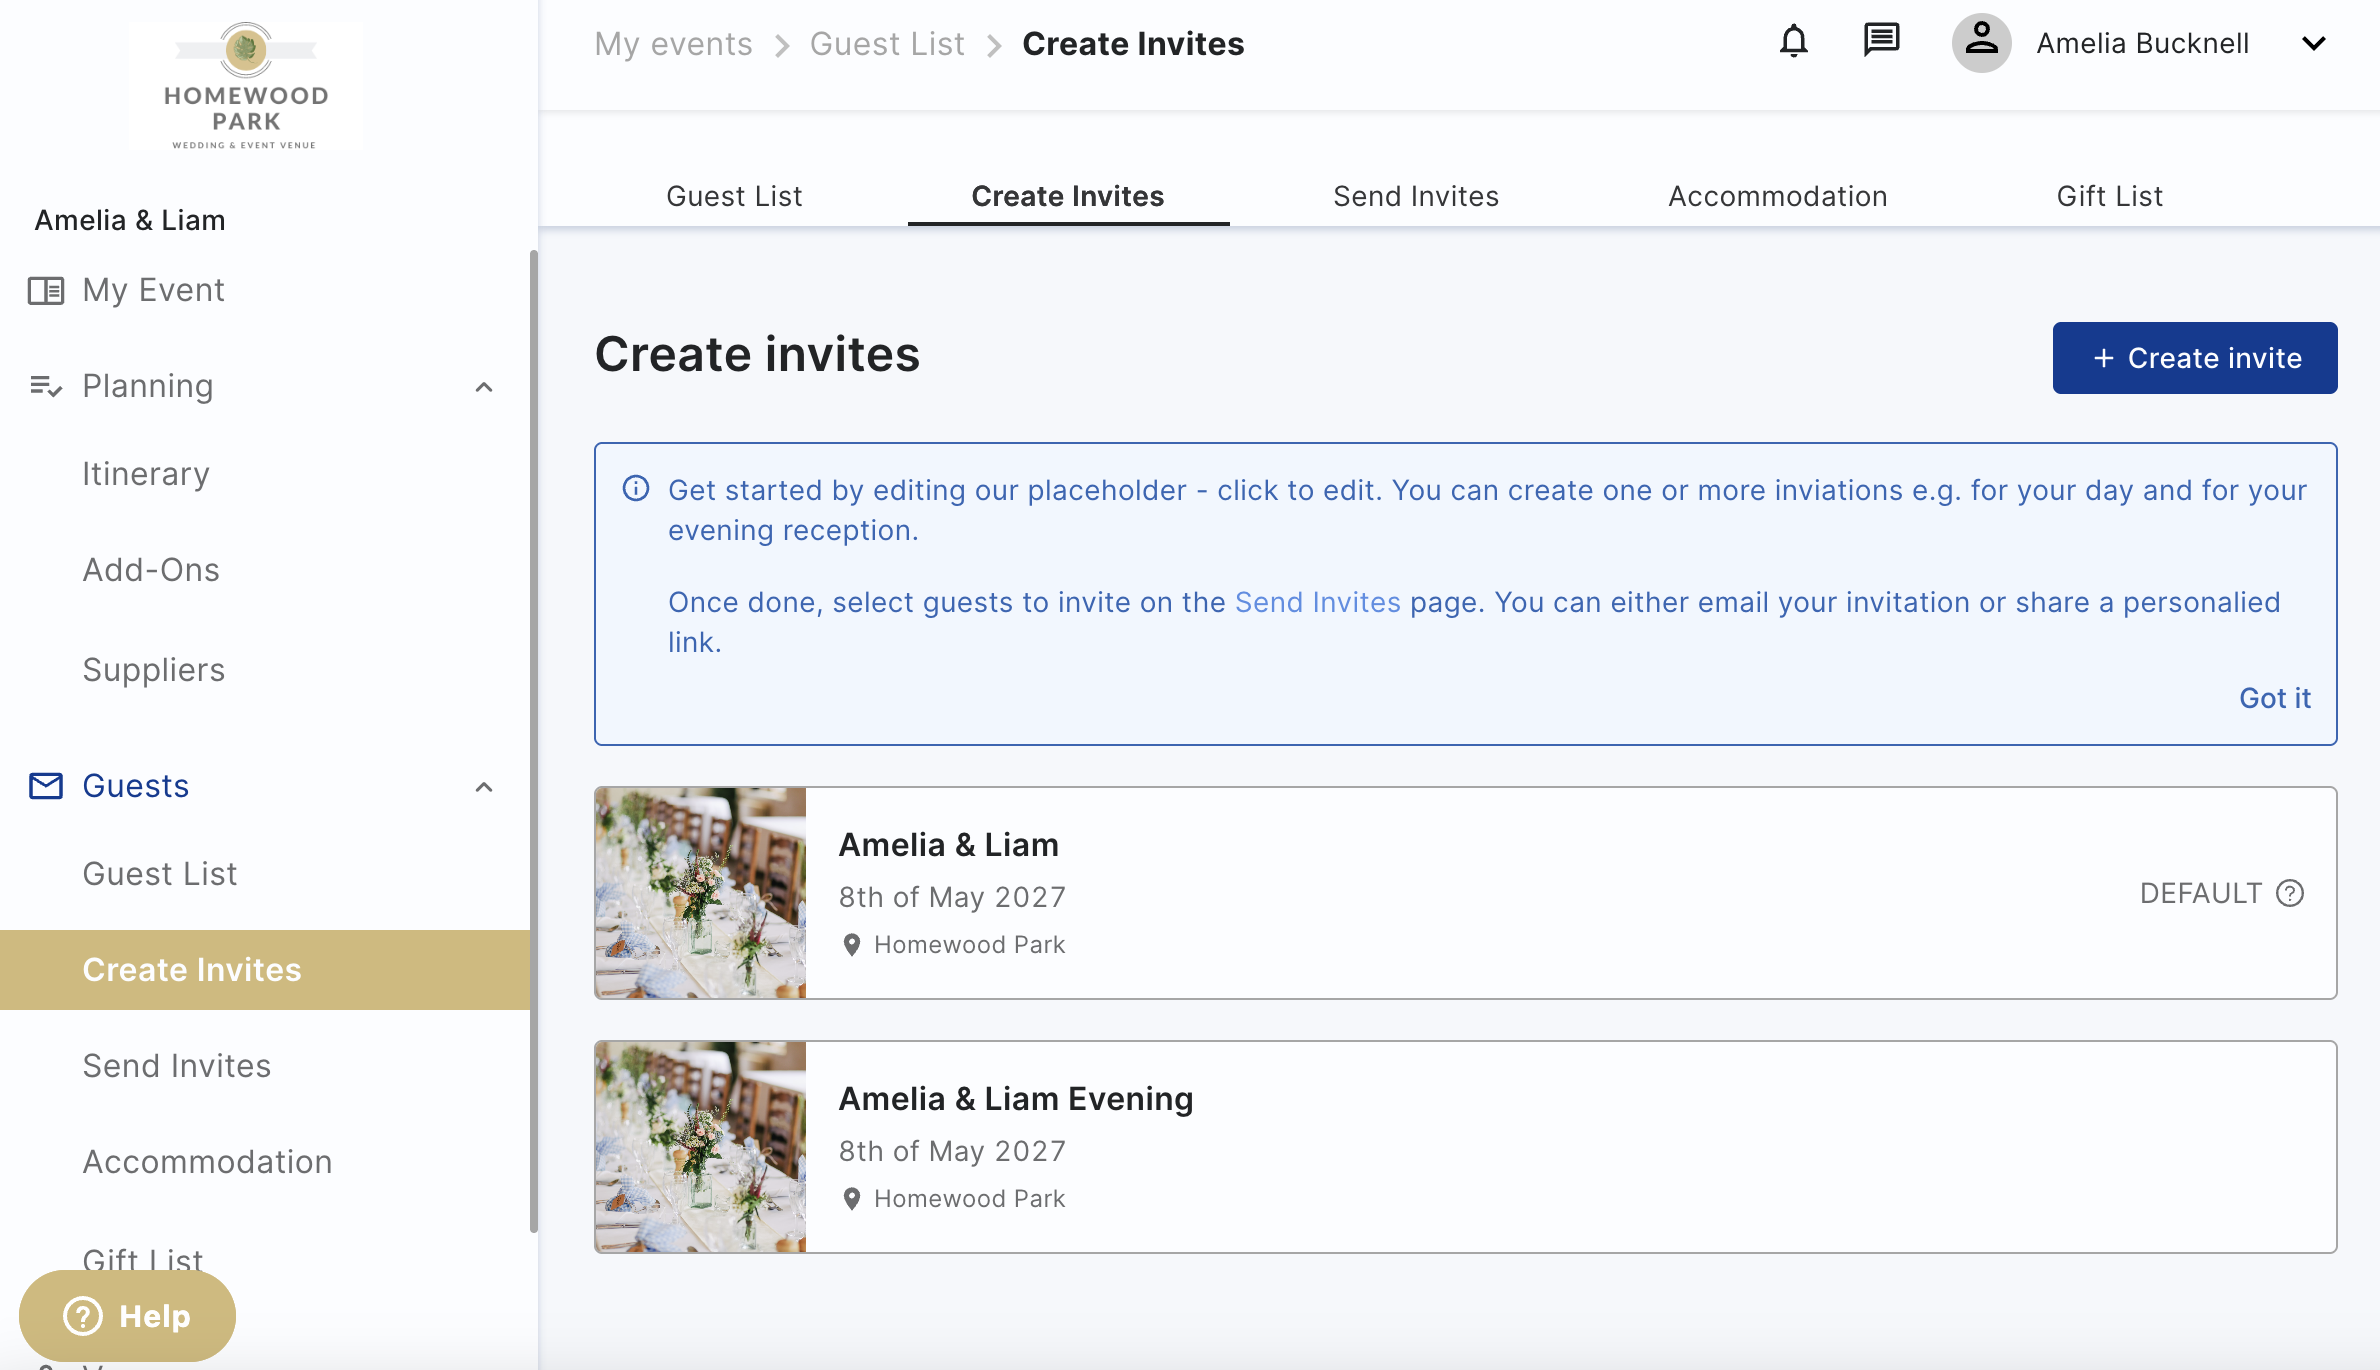
Creating an invite
Once you have uploaded your guest list, you can create an invite. The invites link the guests to the correct itinerary items so for example if you have guests attending the whole day, you want to make sure your invite covers the whole day while if you have evening guests attending you want to create an invite that only covers that portion of the day. Dietary restrictions and meal choices will then match the timings of the day.
You can create as many invites as you want!
Comments
0 comments
Please sign in to leave a comment.